

hasper
Hasper is a port of Ghost's casper theme for the Hugo static-site generator. It hopes to get you from zero to beautiful with minimal effort. Here's what it looks like:
The theme strives for good design, is responsive out of the box, and has great support for images and media. Additional features include Disqus comments, configurable author details, and social network support.
Installing Hugo
If you don't have Hugo installed, I recommend reading these instructions first. Here's a quick summary to get Hugo working on your system:
- Go to Hugo's release page and grab the tar file that matches your OS and architecture. For example, if you are on a Mac, you'd want
hugo_0.16_osx-64bit.tgz. - Unzip the tar file and copy the hugo binary into your path:
$ mkdir hugo_0.16; tar xzvf hugo_0.16_osx-64bit.tgz -C hugo_0.16 $ cp hugo_0.16/hugo ~/bin
Now you should have Hugo installed and see its version:
$ hugo version Hugo Static Site Generator v0.16 BuildDate: 2016-06-06T05:37:59-07:00
Creating a new site
Hugo has a helper command to scaffold a new site together. It creates the initial directory structure and files you need to start writing content. Let's do this for the example site I am working on, bayactive.org:
$ hugo new site bayactive -f yaml
When you run ls on the site's directory you should see output like the following:
$ ls -1 bayactive archetypes config.yaml content data layouts static themes
That's all the organization you'll need to get your site going.
Installing the theme
Hugo is installed and the scaffolding for your site is in place, let's start using the hasper theme! All you'll need to do is add the hasper repository into your theme directory as a git submodule and you're done! We're using the example site, bayactive, to make it easy to follow along. Feel free to substitute your own site in the examples below if you wish.
$ cd bayactive $ git submodule add [email protected]:dencold/hasper.git themes/hasper
At this point, you could spin up Hugo's server and take a look at the site on your browser. But, you don't have any content to view, let's fix that...
Creating your first post
We'll use another Hugo helper command to create a file that represents a new post on your site:
$ hugo new post/welcome.md -f yaml
That command creates a new file located at content/post/welcome.md. Also, a quick note on the -f yaml option I have been using. Hugo defaults to toml for metadata, which I'm not a fan of. I prefer to use yaml as my format for these settings.
Open the welcome.md file in your favorite editor and you should see this:
--- date: 2016-06-27T17:09:17-07:00draft: truetitle: welcome---
Let's add an actual welcome message here & make sure people know what the site is all about:
--- date: 2016-06-27T17:09:17-07:00draft: truetitle: welcome--- Thanks for visiting BayActive! We hope to be a helpful resource for finding hiking/biking/running routes in the bay area.
Save that file, and spin up hugo's internal webserver, using the hasper theme:
$ hugo serve -D --theme hasper
You should see Hugo spit out the following logs:
Started building site
1 of 1 draft rendered
0 future content
0 expired content
1 pages created
0 non-page files copied
2 paginator pages created
0 tags created
0 categories created
in 28 ms
Watching for changes in /home/coldwd/src/github.com/dencold/bayactive/{data,content,layouts,static,themes}
Serving pages from memory
Web Server is available at http://localhost:1313/ (bind address 127.0.0.1)
Press Ctrl+C to stop
If you point your web browser to http://localhost:1313, you'll see the following view:
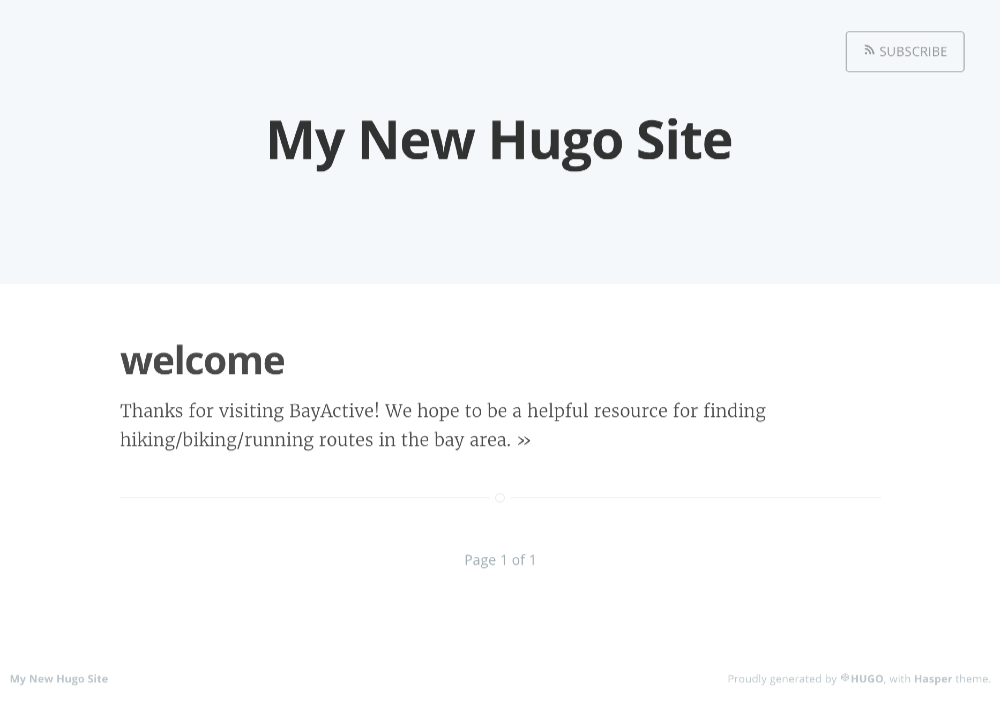
Which is...pretty boring. Let's fix that.
Configuring your site
In the new site creation section, you generated a config.yaml. This file handles configuration for all the fun features of the hasper theme. Open it up in your editor of choice and you'll see:
--- baseurl: http://replace-this-with-your-hugo-site.com/languageCode: en-ustitle: My New Hugo Site...
This was auto-generated when you ran the hugo new site command. It explains why we were seeing the generic text when we served up the site. Let's change this to match what we expect for bayactive.
--- baseurl: http://www.bayactive.orglanguageCode: en-ustitle: BayActive...
So far we've been modifying the root config settings which apply to all Hugo sites. But, there is also the params mapping section which lets us do some theme-specific setup. Let's start using this section of the config to add a description, logo, and a nice cover picture. This will help make bayactive look like a real site.
--- baseurl: http://www.bayactive.orglanguageCode: en-ustitle: BayActiveparams: cover: /img/cover.jpg logo: /img/logo.svg description: Hikes, bikes & rides in the bay...
Note that the cover & logo assets need to be under the static directory that we created above. Your directory structure should look something like this:
$ tree .├── archetypes ├── config.yaml ├── content │ └── post │ └── welcome.md ├── data ├── layouts ├── static │ └── img │ ├── cover.jpg │ └── logo.svg
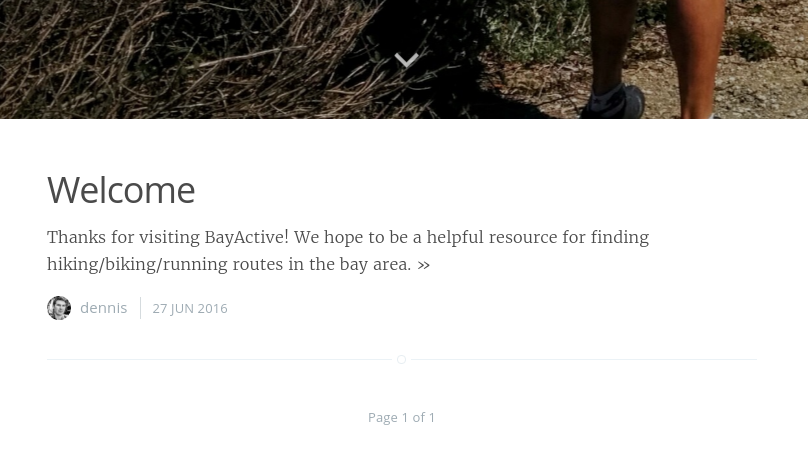
A better looking site
Now that we have a proper cover image and logo in place, the page is starting to feel like a real site. If you make another call to hugo serve and refresh your browser state, this is what things should now look like:

Much better!! Now, try to switch to your own cover image and logo. Update the config.yaml and rename the site/update the description.
You now have everything you need to start producing your own content. Go back and edit your welcome.md post and make a more personal welcome note.
To create additional posts, use the Hugo command we introduced above:
$ hugo new post/post-name.md -f yaml
Start writing some content and sharing with the world!
Next steps
If you're comfortable with the basics of hasper, there is a lot more to explore. Your next step is to check out the config-example.yaml file. This file is fully documented and tries its best to explain each setting available in Hasper. You can pull any of the settings into your own config.yaml file to incorporate on your own site.
Author configuration
Hasper supports multiple authors out of the box. So far, we haven't set any author details, but a small update to the site's config.yaml will change all of that. Here is an example from BayActive's config.yaml, which defines two authors, Dennis & Greg:
author: dennis: id: "dennis" # author's id/short name firstName: "Dennis" # author's first name lastName: "Coldwell" # author's last name displayName: "dennis" # author's prefered display name location: "Berkeley, CA" # author's whereabouts bio: "trying to leave things better than I found them." # short bio, appears below author details on post thumbnail: "/img/avatar.jpg" # author's avatar lemond: # you can configure multiple authors id: "lemond" firstName: "Greg" lastName: "LeMond" location: "Lakewood, CA" bio: "It never gets easier, you just go faster." thumbnail: "/img/lemond.jpg"
Now that you have the metadata for your author defined, you can start using it in posts via the author attribute of a post's front-matter. Here's an example:
--- date: 2016-06-27T17:09:17-07:00draft: truetitle: welcomeauthor: dennis--- Thanks for visiting BayActive! We hope to be a helpful resource for finding hiking/biking/running routes in the bay area.

We now have a nice section for author details at the bottom which pulls in a lot of the metadata you created earlier in the site's config.yml. Looking good!!


